My houseplants have needed attention for some time. So when I had some extra potting soil from my garden, I repotted all my plants.
Here are steps for carrying out the project:
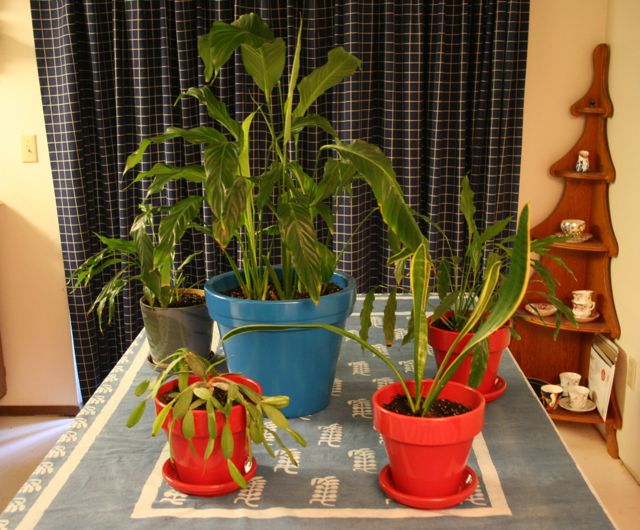
1. Examine your plants.
Put all your plants on a big table. It’s likely each will need a larger pot. Some may need to be divided.
2. Determine how many new pots you’ll need to buy.
Make a list with the approximate sizes. Remember to include enough room for the plants to grow. Be thinking about what color pots you’d like and whether you want glazed or unglazed ones. Watch the newspapers for sales. Check the Internet for coupons.
3. Go to several garden supply stores, if you have the time.
Compare the types of pots, colors, and costs. Check out the potting soil and see which store has the best price.
4. Buy pots and soil.
Be sure to purchase pots that have holes in the bottom so that they’ll drain.
5. Repot the plants.
Find a large surface you can work on, preferably outside. Fill a new pot about two thirds full with potting soil. Dig out a space for the plant.
Gently remove the plant from its pot using one hand to support the plant while the other hand turns the pot over. If the plant doesn’t come out, tap the pot on the table. Divide the plant if necessary. If the plant is root bound, loosen the roots.
Carefully place the plant into the space you’ve made in the soil. Add soil around the roots and to about a half inch from the top. Firmly press the soil around the plant. Water, but don’t soak. Repeat for each plant.
6. Enjoy your updated houseplants.
Water the repotted plants every day for one week. Don’t put them in the sunlight until they adapt to their new environment. Your plants will be happy to be in new pots. Mine really perked up with larger pots and better soil.


